FAQs
- What Is A Room Air Conditioner?
- Are They Only For Small Rooms?
- Types of Room Air Conditioners?
- How to Find the Best Room AC
Many homeowners use a central air conditioner to control the temperature in their home, but this often comes with a hefty price tag and the requirement of cooling every room within your home. But, what if you can’t afford a central AC, or you just want to cool down one room? That’s where a room air conditioner can help.
Finding the best room ac unit for your home will depend on a variety of factors, including the size of the space, your budget, and your personal preferences.
Below, we will answer some of the most frequently asked questions people have about room air conditioners, as well as discuss the pros and cons of the different types available for you to choose from.
Let’s get started.
What Is A Room Air Conditioner?
A room air conditioner is any type of appliance that is designed to cool down an individual space, such as a room in a home or office.
Cost-effective and energy-efficient, this genre of air conditioners can be a suitable alternative for homeowners that don’t want to, or are unable to, invest in central air conditioning.
Are They Just For Small Rooms?
No. While they are commonly associated with smaller spaces, room air conditioners are available in a wide variety of sizes.
It’s important to know the size of the square footage of the room you’re looking to cool, and then calculate the amount of BTUs needed for that size space. You will also need to decide the type of AC unit that would work best for your room, which we detail down below.
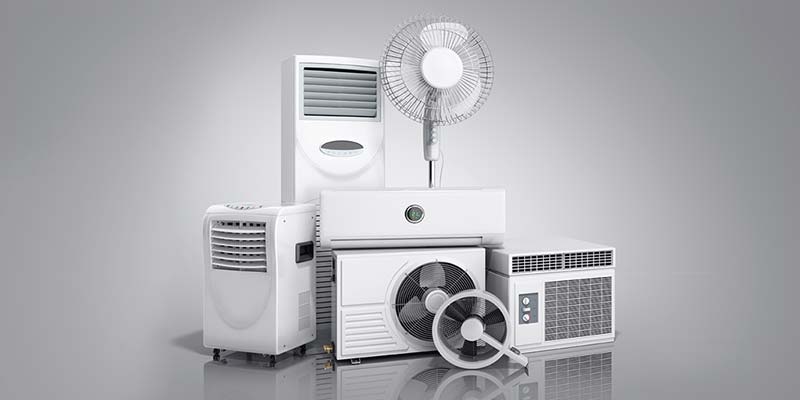
Types of Room Air Conditioners
Now that we have a better idea of what a room air conditioner is, let’s take a closer look at the pros and cons of the different types you will choose from. Consider these pros and cons as you decide which air conditioner is best for your room.
Window Air Conditioners

Probably the most familiar type of room air conditioner, window cooling units are a great option for controlling the temperature within single rooms. There are many benefits to this type of AC unit. They are very affordable to purchase, with hundreds of models available from the most reputable brands in the space.
This low price point goes beyond the initial purchase, too. With a reputation of being extremely energy-efficient, you can count on saving even more money on your monthly energy bills. These costs can be further extended if you get an AC unit that has been rated by EnergyStar.
Window AC units come in just about every size, so no matter how large or small your room may be, it’s not hard to find one with the right amount of BTUs for your space.
The main downside of this type of room air conditioner is the installation requirements.
To work properly, window AC units do require permanent installation through a window that is partially open. This will allow the AC unit to vent hot air from the room. Without proper ventilation, the air conditioner would not be able to cool your room to your desired temperature.
While not an overly difficult task, installing a window air conditioner does present a challenge for many homeowners. If you don’t feel confident in your ability to install your AC unit, you will have to hire somebody to complete the task. This is an additional cost that many homeowners don’t consider at the time of purchase.
The Pros:
- Affordable to buy and use.
- Very energy-efficient.
- Lots of options to choose from.
The Cons:
- Installation may be difficult.
- May need to hire someone to install AC unit.
- Fixed location may require multiple units.
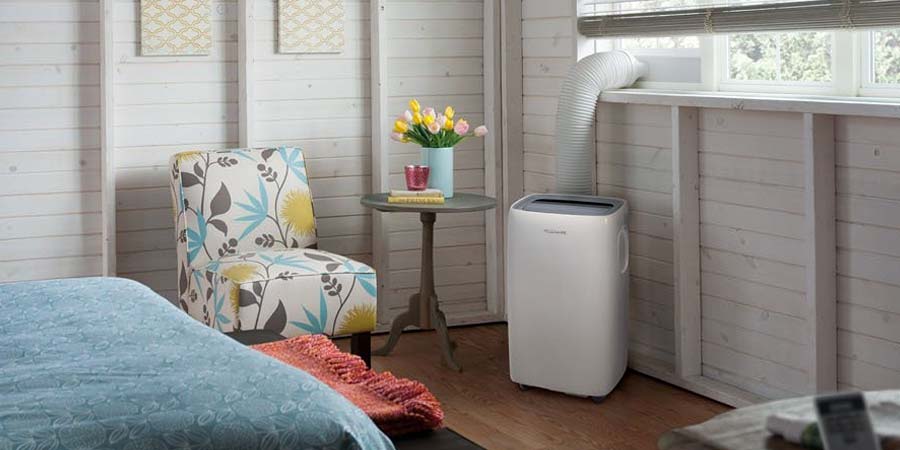
Portable Air Conditioners

In recent years, portable air conditioners have exploded in popularity. Likely because this type of AC unit is another great option for cooling individual rooms.
Portable AC units work just as their window counterparts, but offer the convenience of being light enough to move from room-to-room. Because they don’t require permanent installation, you have more flexibility in cooling strategic areas within your home.

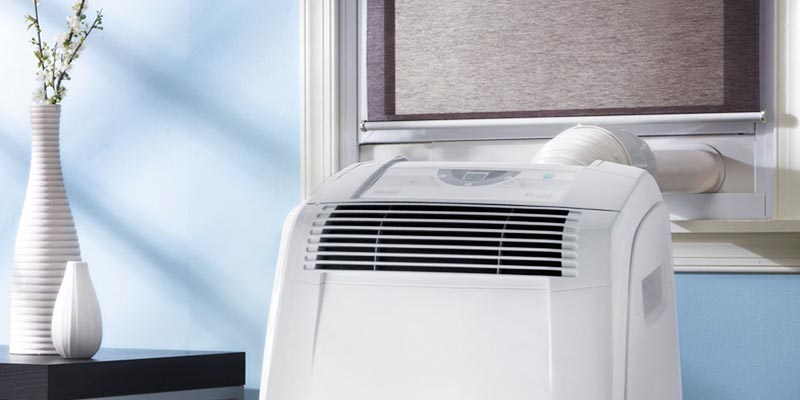
Portable Air Conditioner FAQs
Popular for cooling single rooms, here is a list of the most frequently asked questions about portable air conditioners.
Installing a portable air conditioner is a very simple task that should pose minimal issues for homeowners. Simply click the window vent kit in place, and attach the hose(s) that come out of the back of the AC unit. This is how it vents hot air from the room.
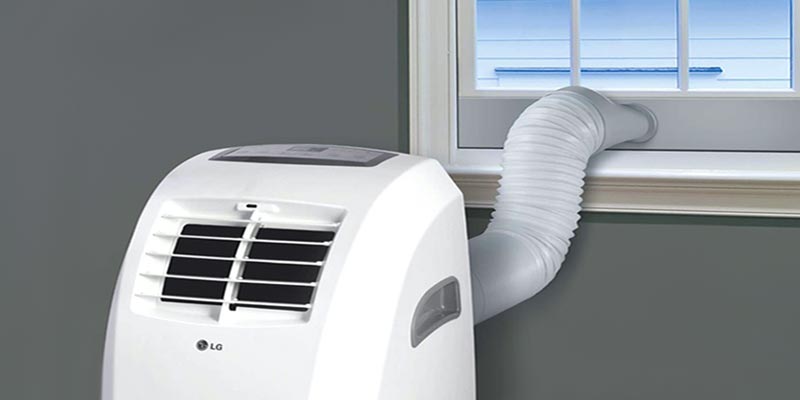
Depending on the brand and model you buy, portable AC units are an affordable option with a large number of units to cool rooms of all sizes. However, the purchase price of a portable AC unit will be slightly higher than window units. But, because they are portable, you may only need to purchase one unit to cool various rooms.
The main downside of using a portable unit is that it will not be as energy-efficient as other types of room air conditioners on this list. At this time, you will not be able to find any portable air conditioners that have earned an EnergyStar rating.
The Pros
- Affordable to buy.
- Very simple installation.
- Portable and easy to roll from room-to-room.
The Cons
- Not as energy efficient as other room AC units.
- Some units will be louder than others.
Ductless Air Conditioners (Mini-Split)

Ductless air conditioners, also known as a mini-split, are great at cooling large, open spaces. While they are not cheap to purchase, this type of room air conditioner is designed to work much like a central AC unit, qualifying it as one of the best alternatives for homeowners.
Consisting of a condenser outside that connects to the unit indoors, ductless AC units are mounted high up on your wall in an area that allows you to maximize the circulation of cool air across the entirety of your room. They take up zero floor space and are extremely quiet, allowing it to largely blend into the room.
Out of all the room air conditioners on this list, ductless AC units are going to be the most efficient. They use very little energy to operate, allowing you to cut your monthly energy costs by a significant amount. You can also find lots of ductless systems that are designed to cool multiple rooms, giving you maximum temperature control across your home.
Similar to buying a central AC unit for your home, the main downsides of ductless air conditioners are the overall cost of purchasing and installing it.
Unfortunately, the price tag for a ductless mini-split system is going to be much steeper than other room AC units. And once you get over the initial sticker shock, you also have to consider the cost of finding and hiring a qualified technician that can install it for you.
The Pros:
- Surprisingly quiet.
- Very efficient with minimal costs to use.
- Doesn’t take up any floor space.
- One unit can cool multiple rooms.
The Cons:
- Expensive to purchase.
- Need to hire a qualified technician to install.
Through-the-Wall Air Conditioners

With a similar design as window units, this type of air conditioner is installed directly into your wall of the room you want to cool.
Wall air conditioners are the least popular type of unit on this list, and for good reasons. Most homeowners don’t want to spend the time and money to cut a hole into the side of their home, just to cool one room.
If you’re going to spend that amount of money, it would probably be wiser to invest into a ductless AC that doesn’t require a large hole in your home. It’s also going to be much easier to install and use a portable or window unit.
Despite these downsides, through-the-wall air conditioners are engineered to be slightly different than window units. This allows them to be slightly more efficient at cooling large, open rooms.
Wall AC units are also a great fit for cooling small sheds, workshops or other areas that don’t have a window and have little downside to cutting a hole in the wall.
It is important to remember that the difference between a window and through wall air conditioner does not lie in where they are positioned but in their structure. Through wall air conditioners vent warm air only through the back of the unit while window air conditioners work from both sides. These room air conditioners are not interchangeable.
The Pros:
- Efficient and powerful.
- Doesn’t take up any floor space.
- Great at cooling large rooms and open spaces.
The Cons:
- Potentially expensive to install.
- Requires a hole in the wall.
Finding the Best AC For Your Room
Now that you have a better idea of what types of air conditioners can be used to cool a single room, let’s close this out with a few final considerations to help you find the best AC for your room.
No matter what you decide to buy, or how much it costs, this is a big decision that will affect your comfort level on a daily basis. It’s important to look at all the angles before you buy the first one you come across.
Ask yourself these questions:
- What is the square footage of your room?
- How much are you willing to spend?
- Are you willing and able to do the installation?
Once you have the answer to these questions, you’ll be in a position to make an informed decision and find the best air conditioner for your room.
Window vs. Portable
Most homeowners will find that a window air conditioner is the most affordable and easiest to buy, but they may be hesitant when it comes to the installation process. If this is the scenario you find yourself in, then perhaps a portable air conditioner is the better option for you. Just know, that you’d be sacrificing energy efficiency for convenient installation.
Ductless = The Closest to Central AC
If you want to get closely replicate what you have with central air conditioning, then your best bet would be to buy a ductless air conditioner. But, they are more expensive to buy, and considerably more difficult to install. However, long-term, they are a great way to cool a room.
Any questions or thoughts? Let’s start a conversation in the comments below.